

Salesforce lead assignment rules help your team automate who gets which leads and when. They’re a native CRM feature that supports the automation of lead distribution and case management across your go-to-market (GTM) teams.
In short, lead assignment rules determine how new records, whether leads, contacts, or cases, are routed to the right person or queue based on specific criteria you define. This automation helps streamline lead follow-up, improve response time, and reduce manual work for sales and support teams.
Organizations typically use Salesforce lead assignment rules for multiple GTM workflows, including:
- Inbound leads captured from web forms
- Leads imported from events or trade shows
- Customer support cases submitted online or by email
For example, a company might create separate case assignment rules for weekdays and weekends. Each rule can have multiple entries that determine exactly how leads or cases are distributed across reps, teams, or queues.
Why Lead Assignment Rules Matter for GTM Teams

As companies grow and scale, they introduce multiple GTM motions: inbound, outbound, account-based, buying groups, expansion, and renewal. Managing these motions with a single static Salesforce assignment rule can quickly become unmanageable.
Most organizations end up creating one massive rule set with dozens of entries that try to handle every situation. Over time, this approach becomes difficult to understand, troubleshoot, or modify, especially when different teams rely on the same system.
The result: complexity, bottlenecks, and delayed follow-up. That’s the opposite of the agility today’s GTM teams need.
How to Define Assignment Rules
In Salesforce, only one lead or case assignment rule can be active at a time. These rules automate lead distribution and customer workflows as records are created, manually, via import, or automatically from your website.
- Lead assignment rules determine how new leads are assigned to users or queues.
- Case assignment rules determine how customer service cases are assigned or routed for resolution.
These rules are designed to reduce manual triage, ensuring every new record follows a consistent, rule-based path through your CRM.
Criteria for Salesforce Lead Assignment Rules
Before building your rule, make sure your Salesforce edition supports assignment rules.
- Lead assignment rules are available in Group, Essentials, Professional, Enterprise, Performance, Unlimited, and Developer editions.
- Case assignment rules are available in Professional, Enterprise, Performance, Unlimited, and Developer editions.
To view existing rules, you need the View Setup and Configuration permission. To create or modify rules, you need Customize Application permission.
If you’re not your organization’s Salesforce administrator, check before making any changes.
How to Create Salesforce Lead Assignment Rules
Creating or editing lead and case assignment rules in Salesforce is straightforward:
- Login to Salesforce and click Setup in the upper-right corner.
- In the Setup Search box, type assignment rules.
- Select Lead Assignment Rules or Case Assignment Rules.
- Click New to create a rule. Give it a name and specify when it should be active (for manual, web, or email records).
- Save your rule, open it, and click New Rule Entry.
- Specify the Order (the order Salesforce processes entries).
- Define criteria or a formula that triggers the rule.
- Choose the user or queue the record should be assigned to.
- Save your changes.
Once active, Salesforce automatically routes new records according to your defined logic.
Troubleshooting Common Issues
If your Salesforce lead assignment rules aren’t working as expected, check the following:
- Only one rule can be active at a time. Confirm you’ve activated the right one.
- Ensure records use the rule. When creating or importing leads, check the box Assign using active assignment rule.
- Check the rule order. Overlapping criteria or incorrect order can send records to the wrong owner.
- Enable field history tracking. Tracking ownership changes helps identify where routing broke down.
For example, if entry #1 routes California leads to John and entry #2 routes demo requests to Jane, but a California demo request goes to John, your rule order may be off.
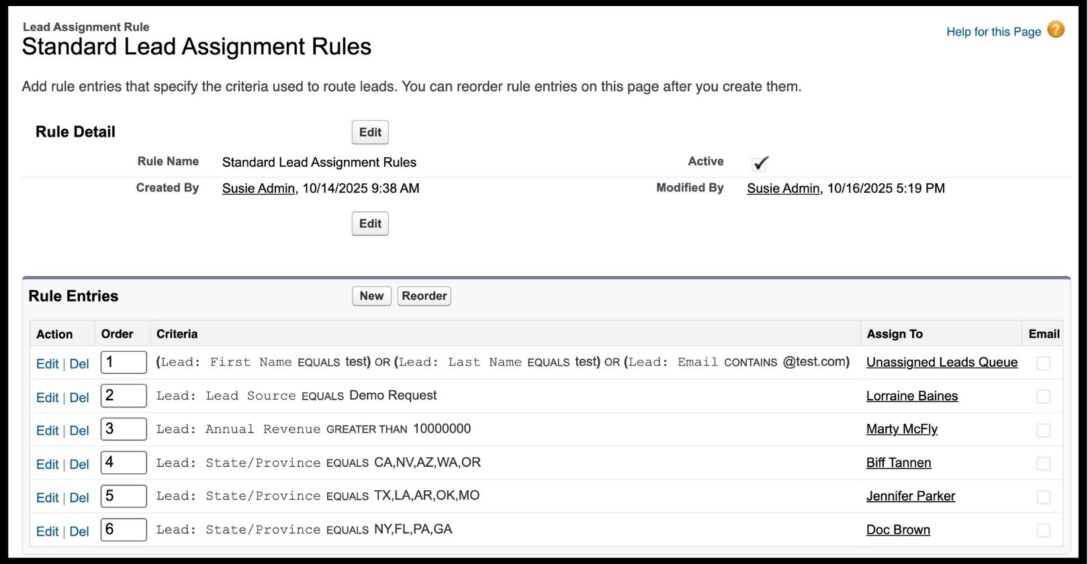
Example Lead Assignment Scenarios
Below are examples of how Salesforce lead assignment rules can be structured for common use cases:
- Leads containing the word “test” are routed to an Unassigned queue
- Demo requests are routed directly to an SDR
- Leads from enterprise accounts (>$100M revenue) go to an Account Executive
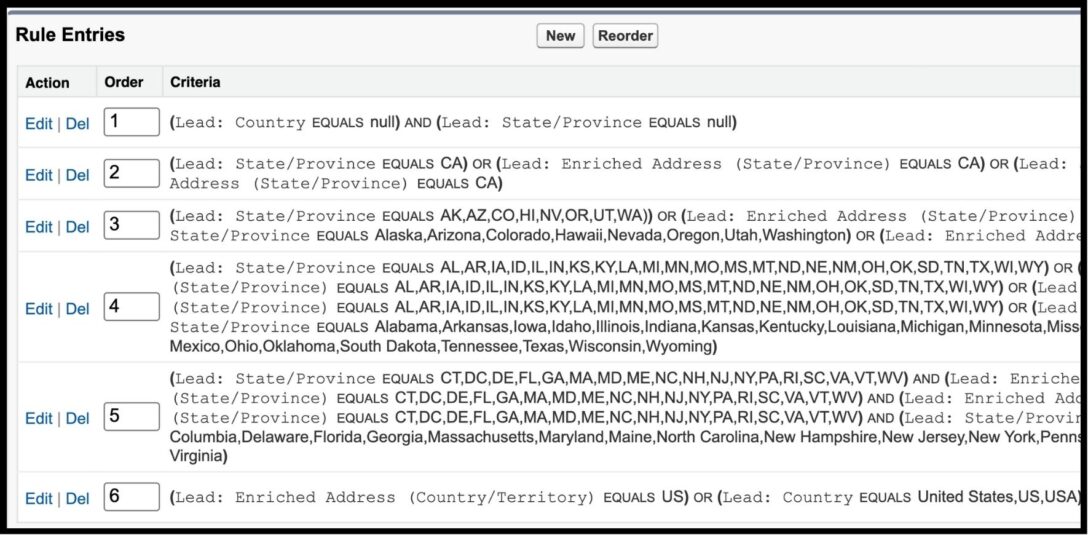
- Leads in certain states route to their regional reps
This kind of logic ensures that every lead follows a predictable, efficient path.

Simplify Salesforce Lead Assignment with LeanData
While Salesforce lead assignment rules are effective for basic routing, they don’t easily scale to the complexity of modern GTM operations. Most growing organizations eventually need more flexibility, visibility, and control.
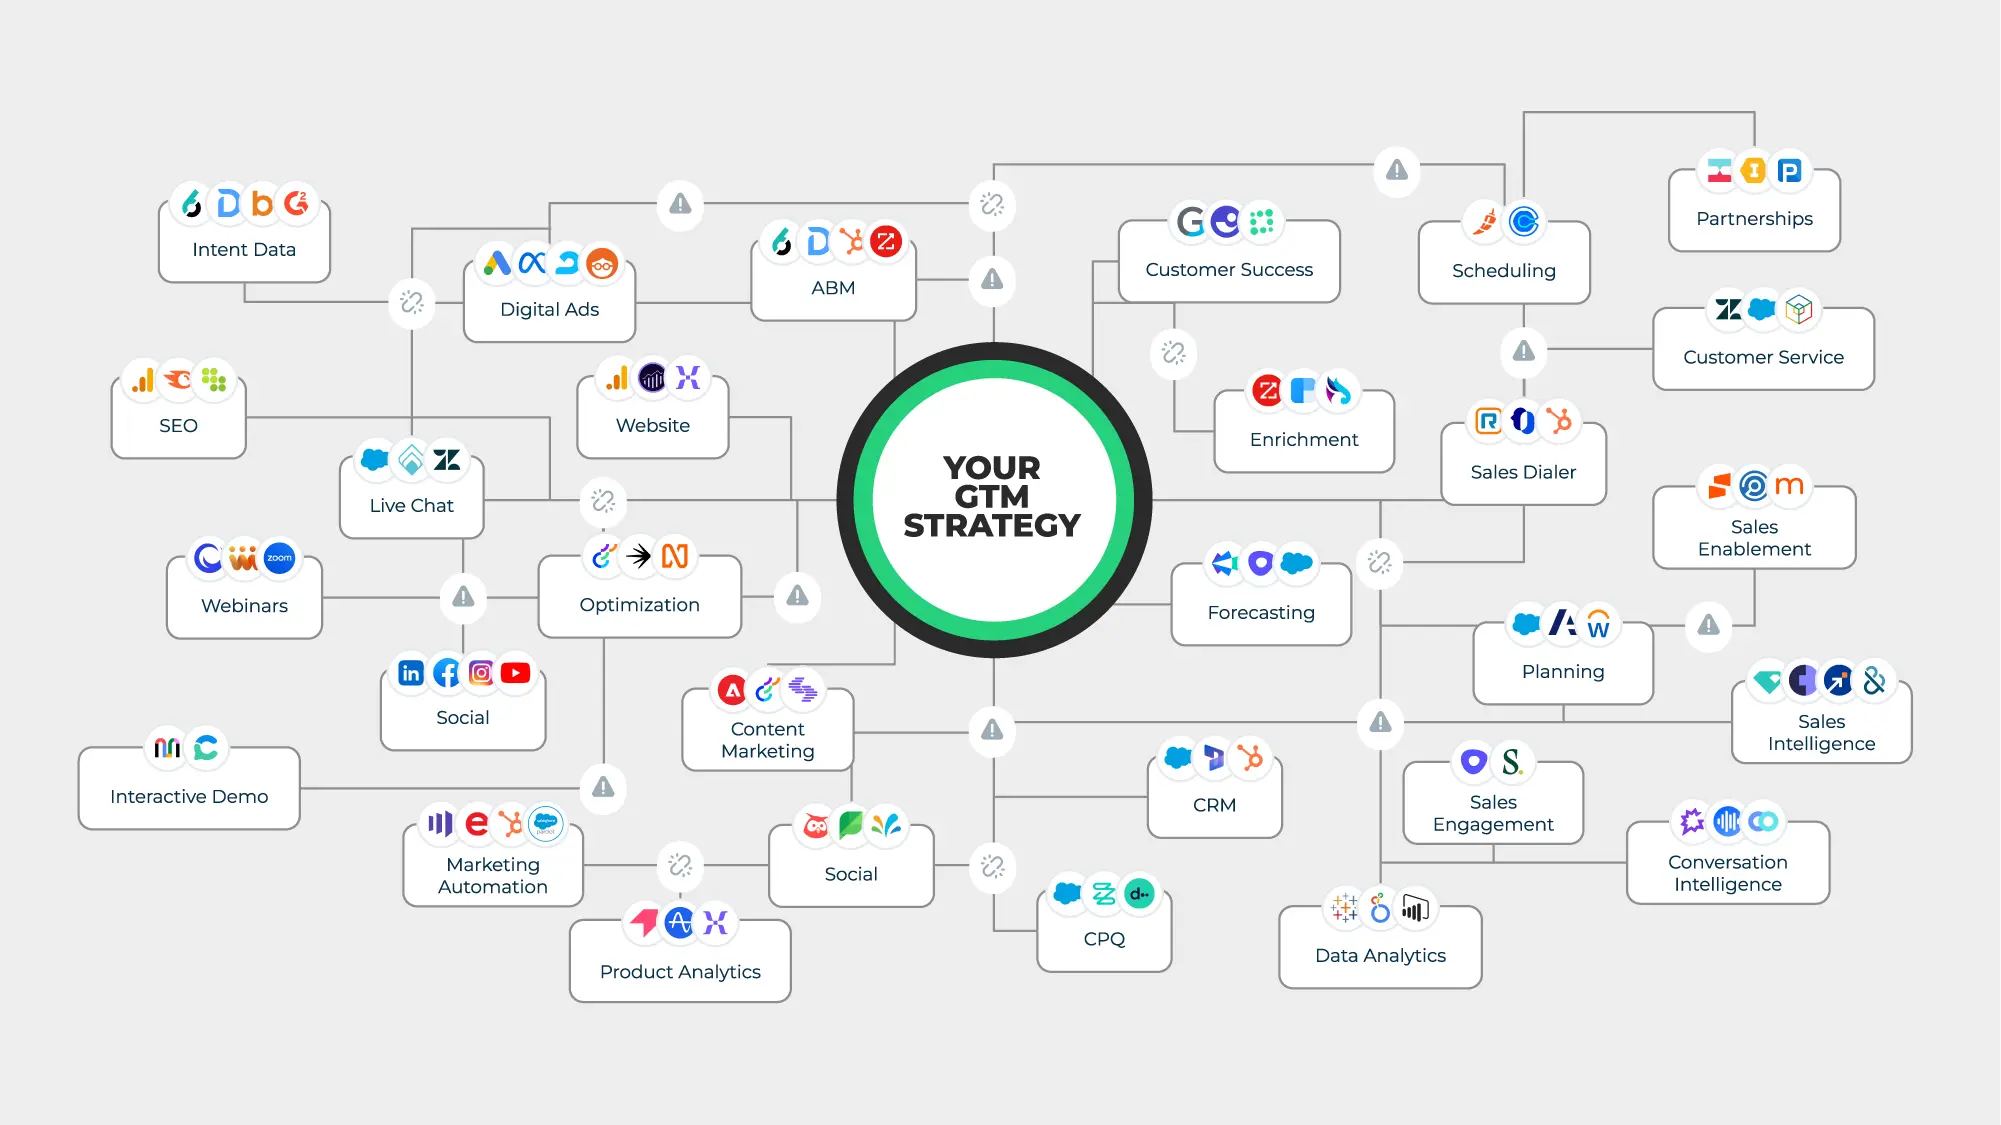
That’s where LeanData’s Intelligent GTM Orchestration Platform helps.
LeanData extends Salesforce with a visual, no-code flow builder that makes even the most complex lead routing logic easy to design, understand, and troubleshoot. Rather than maintaining a single, massive rule set, you can visually orchestrate workflows that align with your GTM motions: inbound, outbound, account-based, or post-sales.
With LeanData, teams gain:
- Visibility into how leads and cases are routed in real time
- Agility to make quick adjustments without code
- Precision in using buyer and account signals for routing decisions
- Confidence that every lead reaches the right person, fast
By integrating data, signals, and workflow automation, LeanData helps GTM teams fuel efficient growth, turning static Salesforce rules into a dynamic, intelligent orchestration layer.
Key Takeaway
Salesforce lead assignment rules are an essential foundation for lead management. But as your organization scales and your GTM motions diversify, native Salesforce tools can quickly become too rigid.
Intelligent GTM Orchestration allows teams to automate, visualize, and optimize these same workflows, helping you convert buyer signals into action faster and more accurately.
If you’re ready to see how visual routing can simplify your Salesforce setup, explore how LeanData connects every GTM motion to the buyer journey.
See how LeanData helps Salesforce Admins move from rules to results